How to Sell Discord Memberships with Crypto
Learn how to monetize your Discord server with crypto payments using Subscord, a Discord bot for on-chain cryptocurrency subscriptions. Sell access to exclusive roles and channels on your Discord server.

Discord is currently one of the biggest social platforms in the world. It's where communities grow and thrive, whether the discussions are about gaming, crypto, or just a group of friends talking about anything.
Because of these unique features, Discord has become the perfect platform for those looking to monetize their valuable communities by selling access to the server or specific premium channels.
Monetizing Discord servers has notoriously been difficult until services like Patreon introduced Discord integration, and eventually, Discord added a monetization feature.
The main problem with these solutions is that the fees are exorbitant. Currently, Discord charges 10% per subscription, while Patreon takes around 20% of your earnings.
These high fees, along with the fact that none of the available solutions properly accept crypto payments, are why we built Subscord—a Discord bot that allows you to sell access to your server through fully on-chain cryptocurrency payments.
To find out more about Subscord, check out our main features.
Step 1 - Create a Premium Discord Role and Restrict chat access
First thing we need to do, is create the role that will give access to our premium content.
- Open up your Discord server settings and create a role.
- Go to your premium chat settings and restrict read access to members who have the role you created.
Any user who has this role will get access to the content of this channel. This is the role you should sell access to on Subscord.
Step 2 - Set Up Subscord with Your Discord Server
Assuming you are the owner of your Discord server, you need to invite the Subscord bot and set up your Discord server with Subscord.
Head over to the Dashboard.
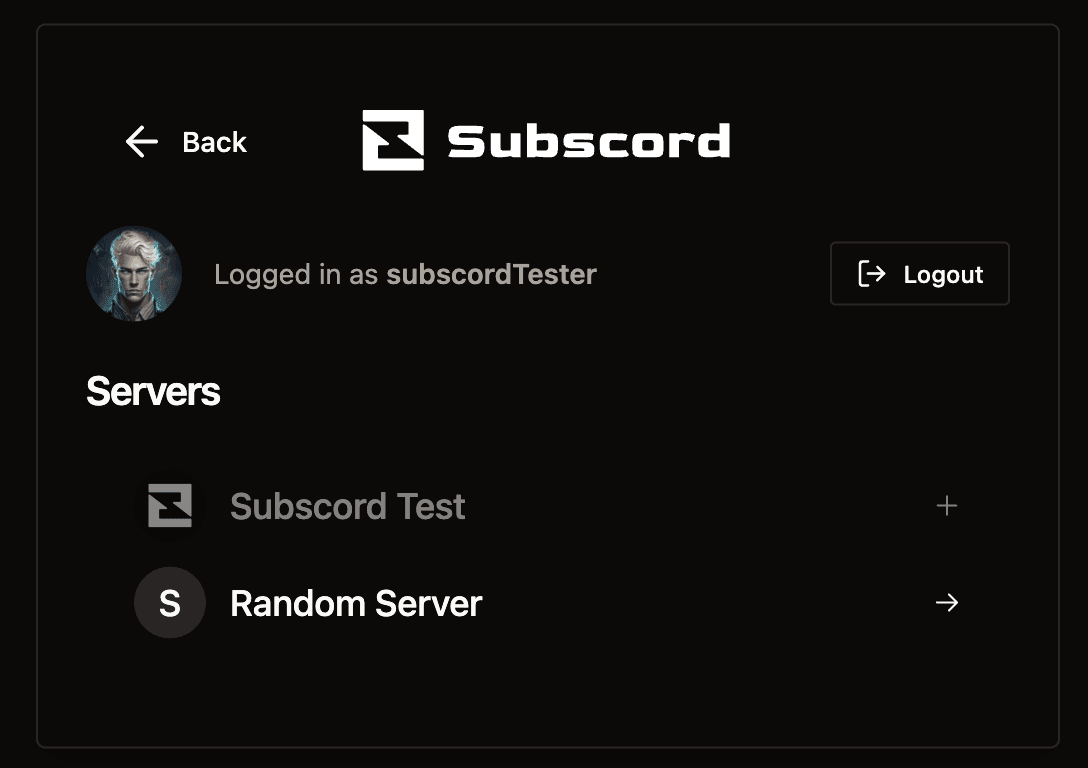
After logging in, you should see a list of the servers you own:
Invite the Subscord Bot to Your Discord Server
For this example, we are going to set up "Subscord Test." Click on the server you want to configure to invite the Subscord bot.
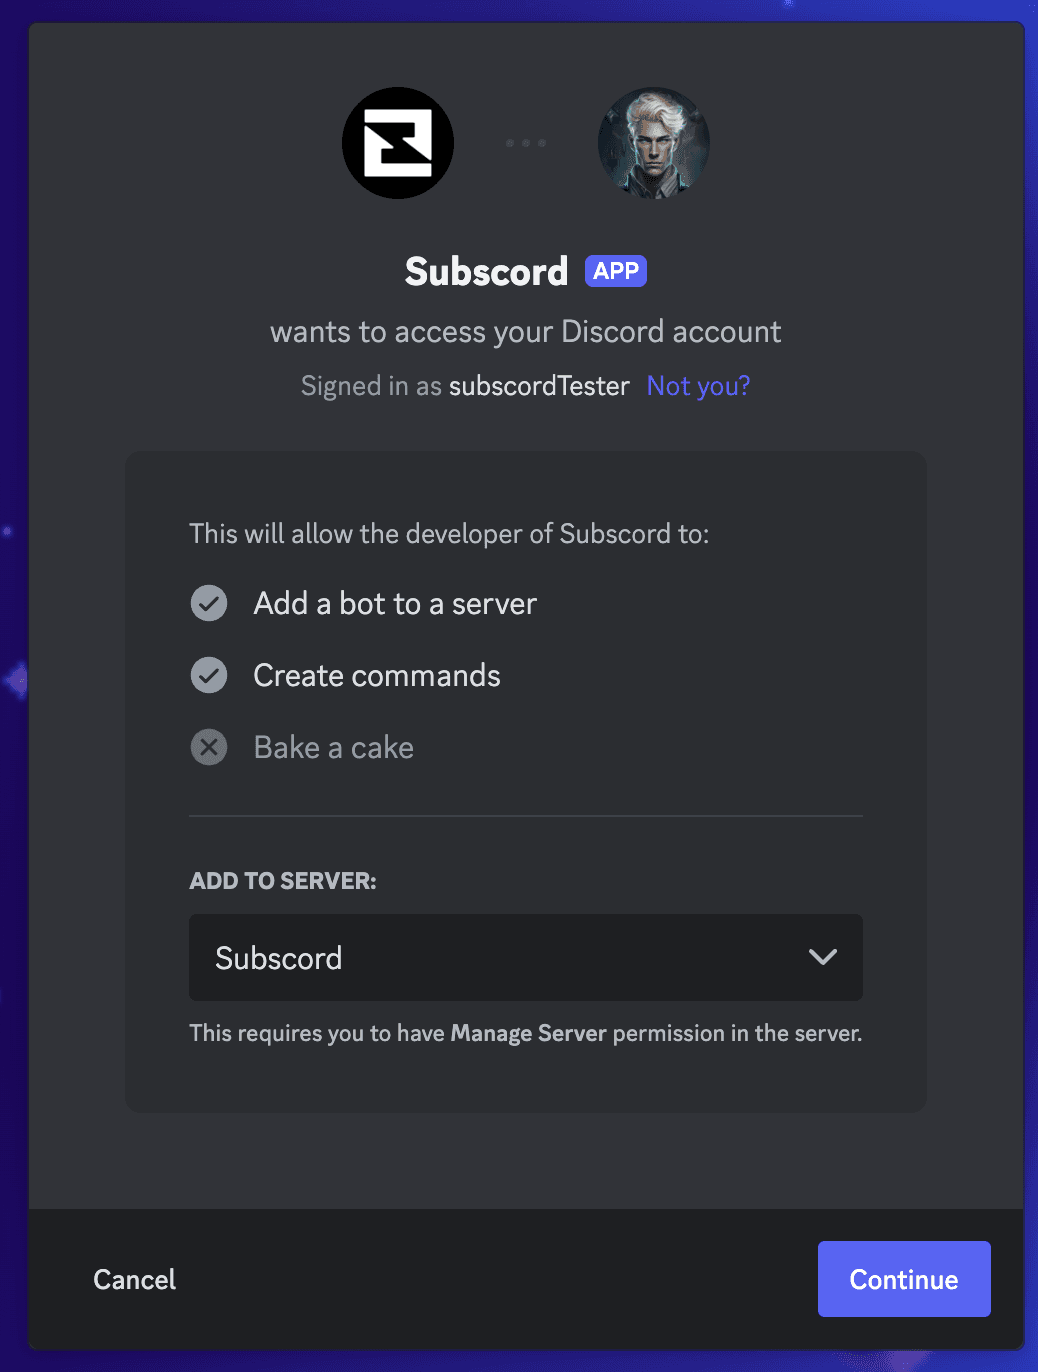
Now, click Continue and then Authorize.
Step 3 - Set Up Your Receiving Crypto Wallet
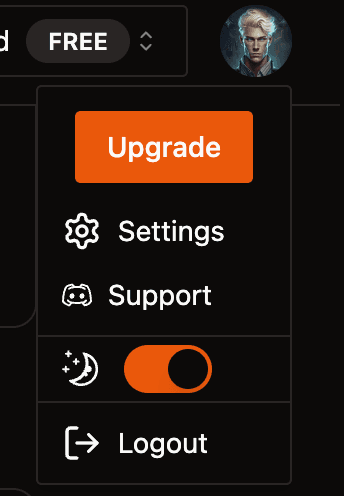
To access your settings page, click on your avatar to show the dropdown menu, and select Settings:
Click Add Wallet.
Select one of the tokens you want to accept on your store and paste your receiving wallet address for that token's blockchain. For example, if you want to accept Solana, select SOL and paste your Solana wallet address:
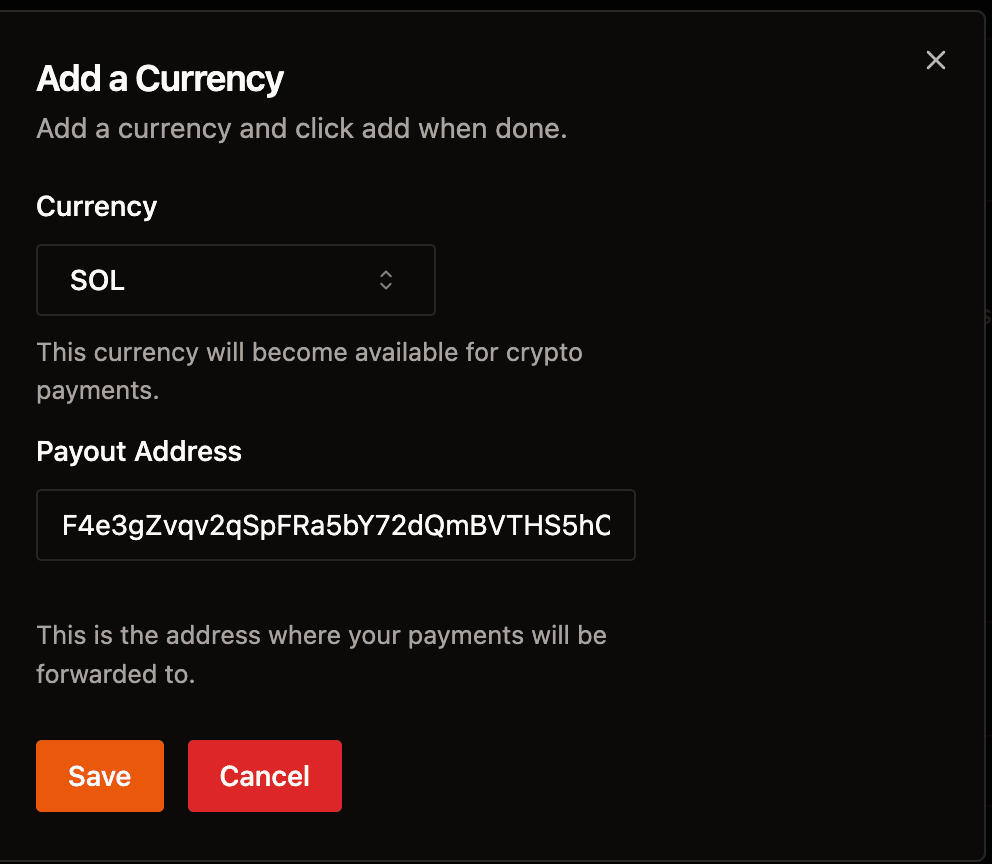
Now, click Save and your store will be ready to accept Solana payments. You can set up multiple wallets so your Subscord store can accept various tokens.
Step 4 - Create a Subscription Product
Click on Products at the top:

Click Add Product.
Enter the name of your product and a description.
You can now select different options for your subscription product, which can vary in both price and duration. This option is useful for creating, for example, a monthly and yearly product with a discounted price.
Once that's done, you can select the roles that subscribers of this product should receive. These roles should grant access to your premium content.
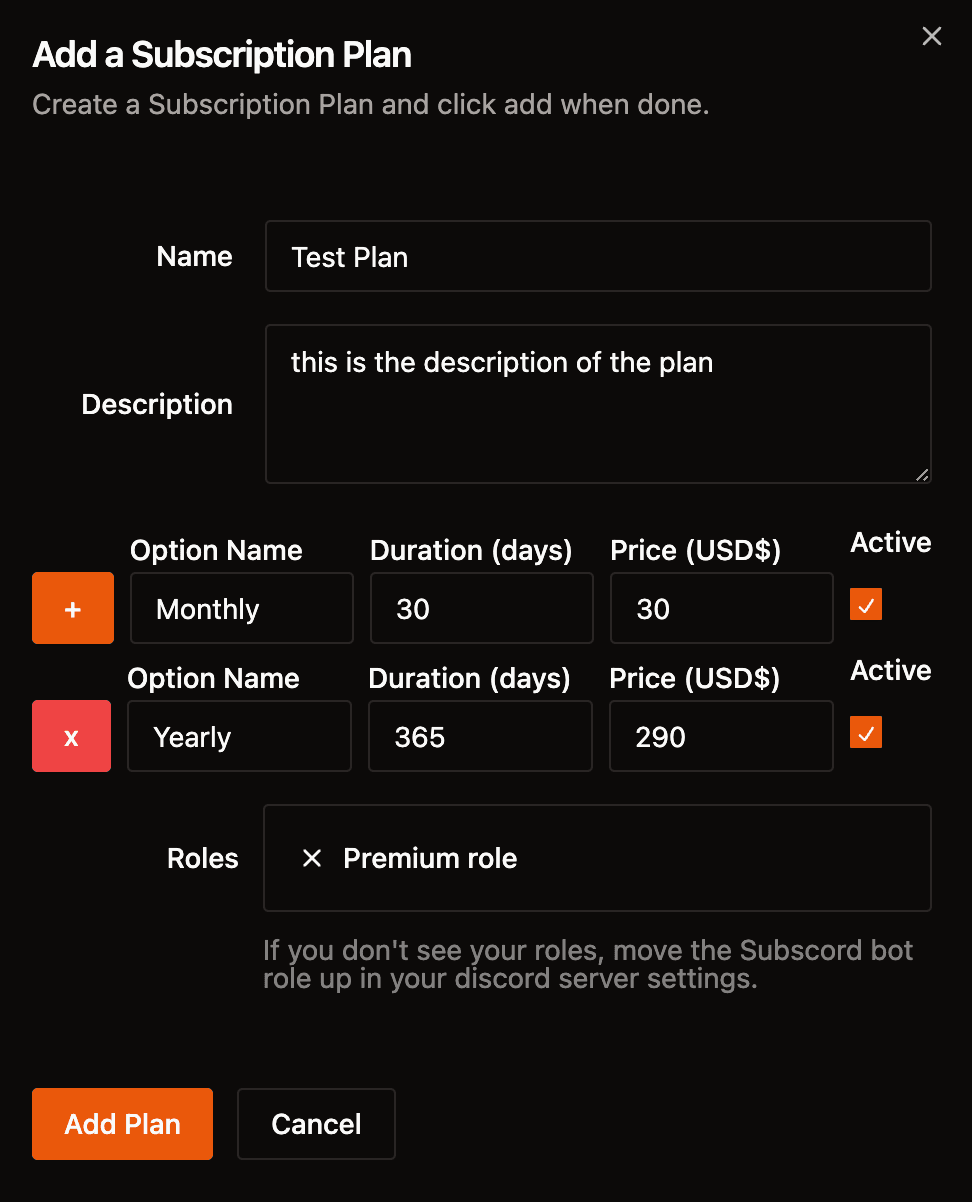
Click Add Product, and you will now be able to sell access to this Discord role using Subscord.
Step 5 - Share Your Store Link with Your Community
Now, get your store link, which is automatically generated by Subscord, and share it with your community. This link enables anyone to purchase your subscription product and gain access to your roles automatically.
Click on the Store tab at the top bar, and you'll be able to copy your Subscord Store link:
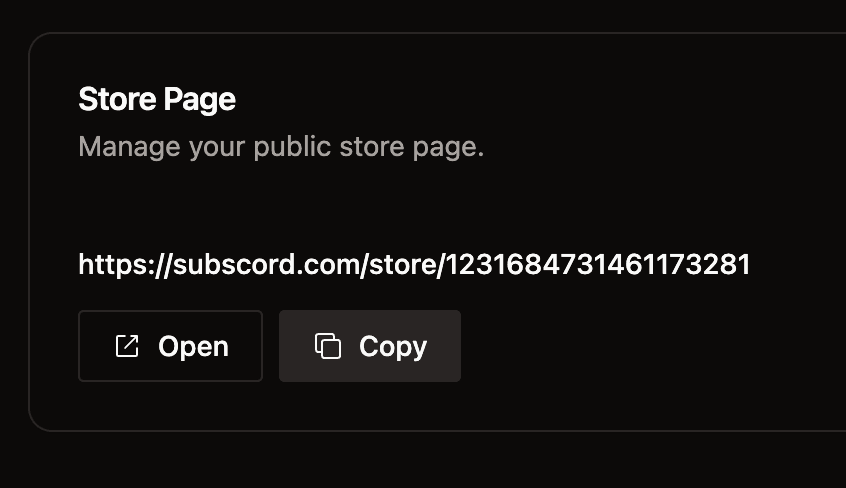
Access the link and you'll see the subscription product we just created, ready to be purchased by anyone:
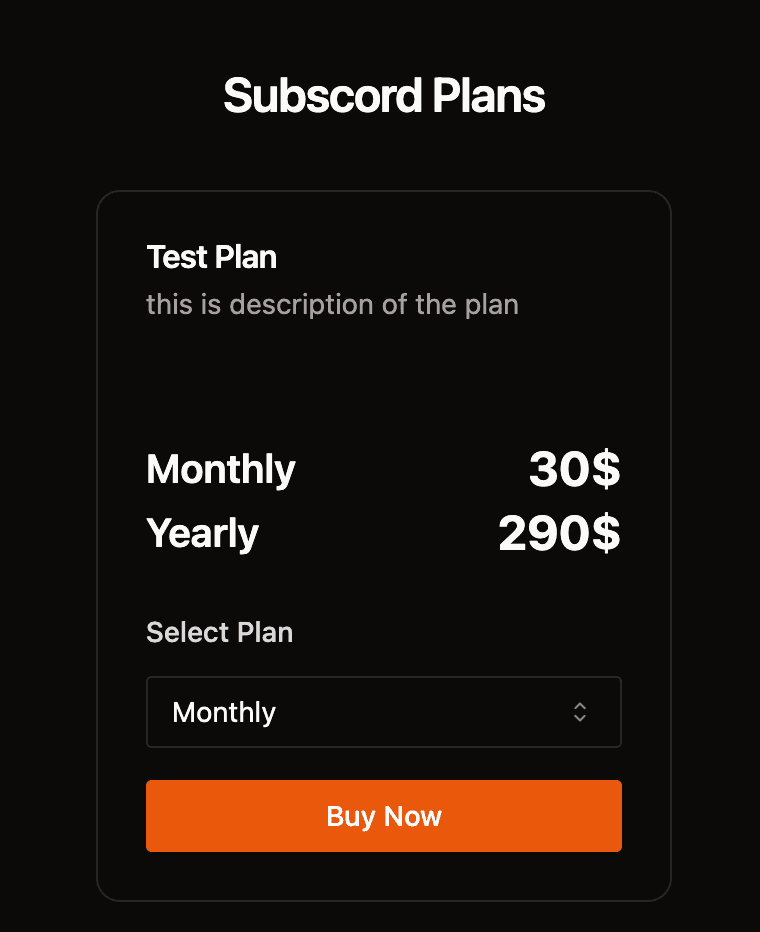
All your customers need to do is log in, click Buy Now, and select one of the available crypto tokens:
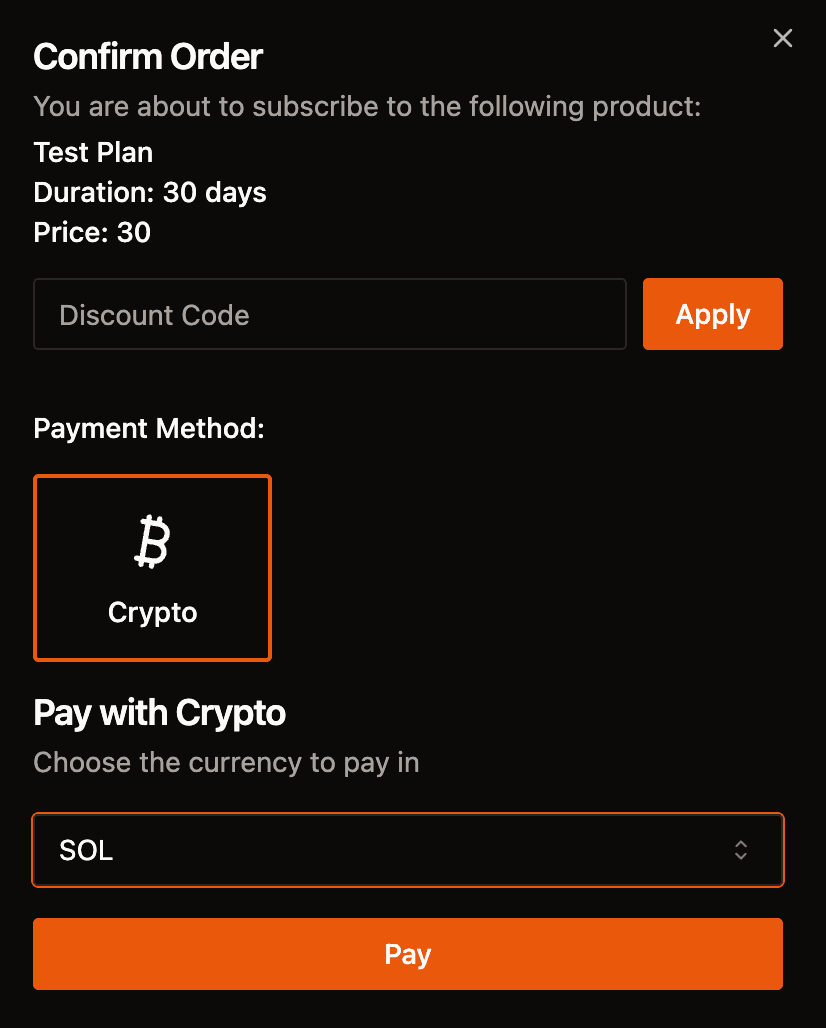
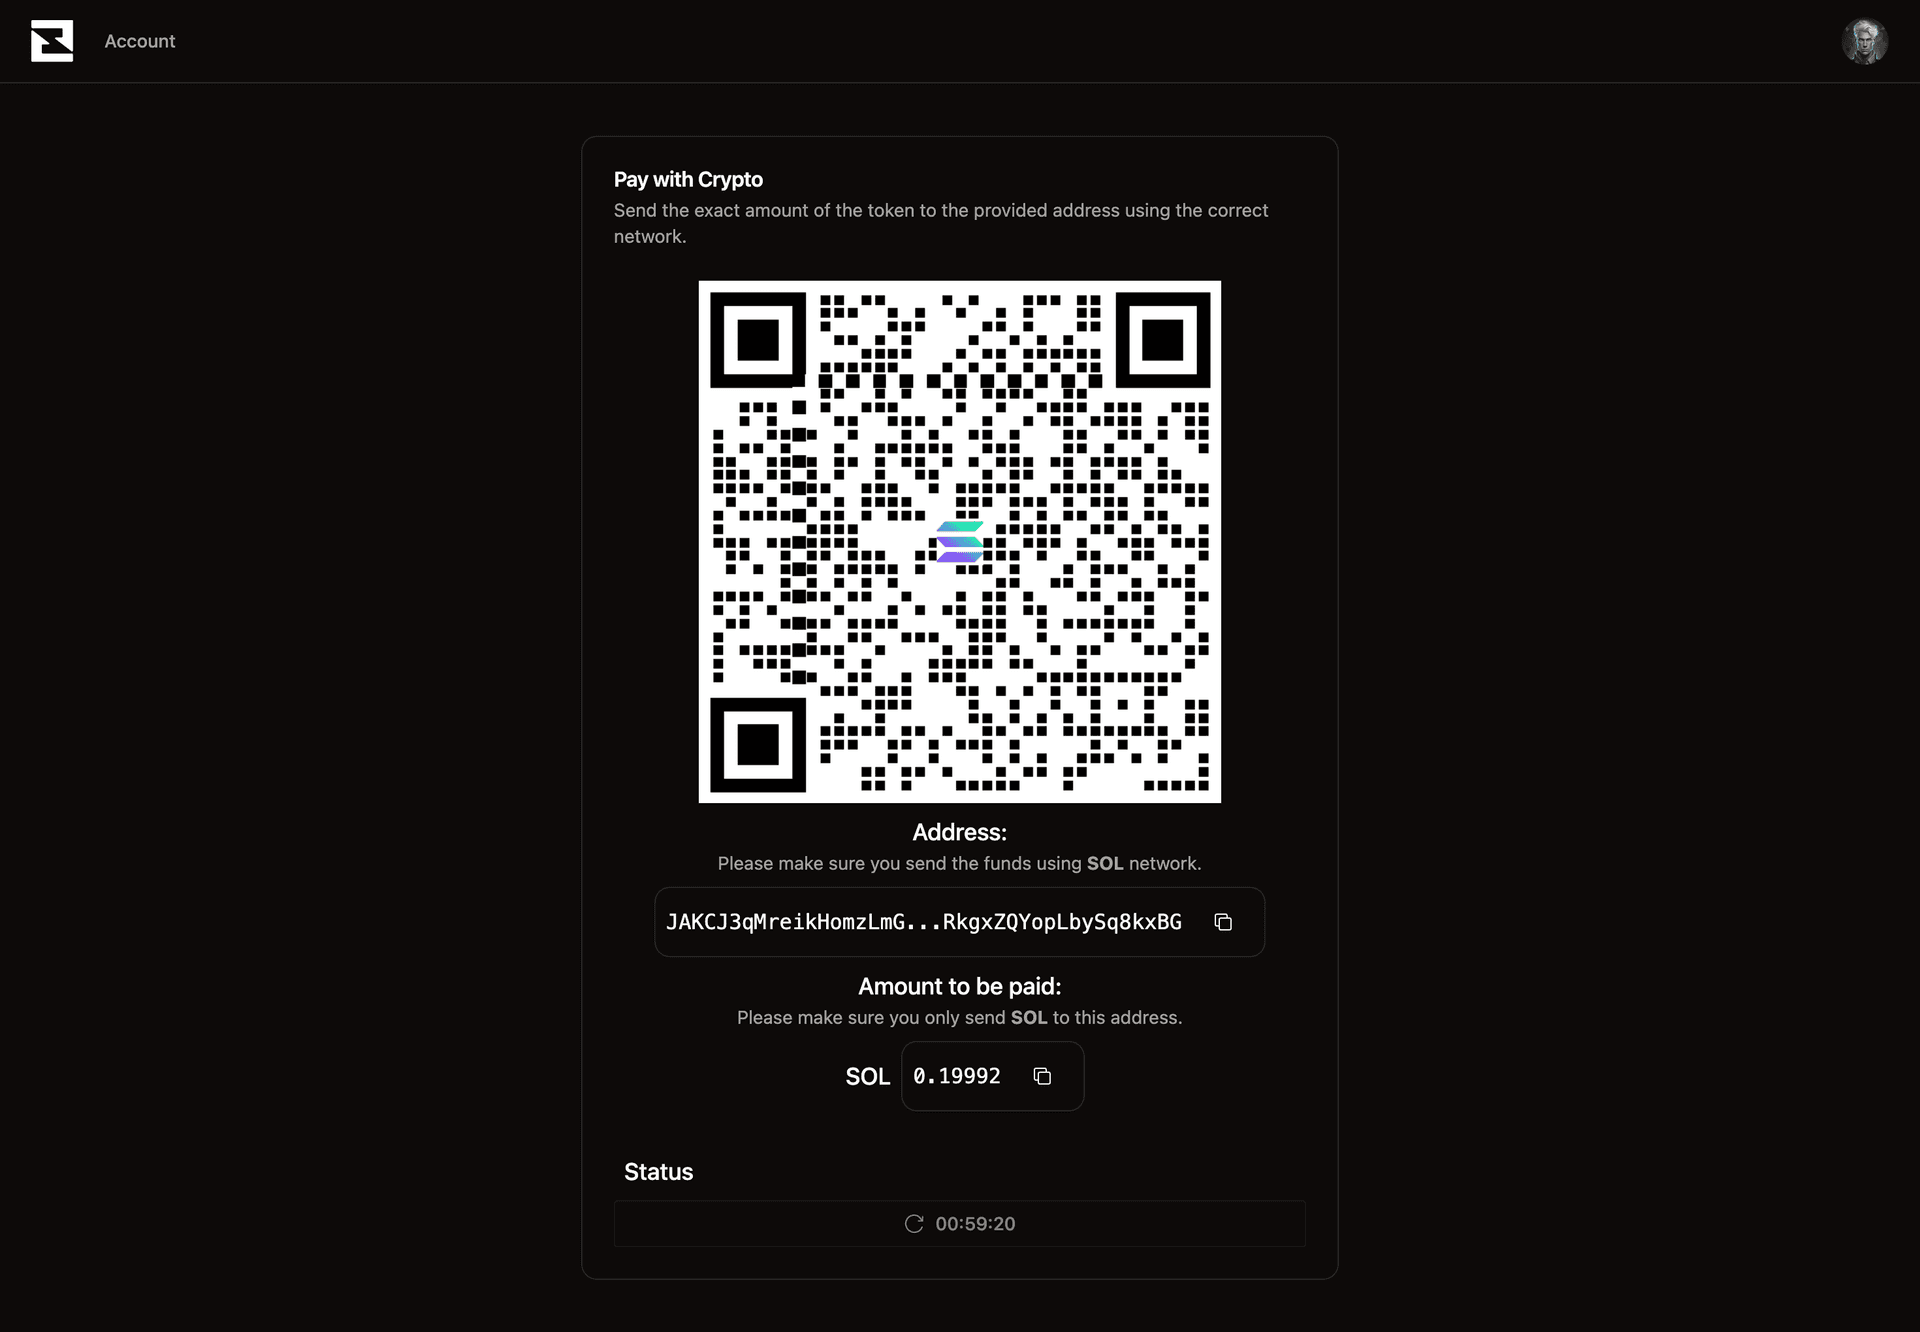
Subscord will create a wallet to receive and detect payments. All your customer needs to do is send the exact amount of the token to that wallet. Once the payment is detected, they will be automatically added to the Discord server and assigned the purchased product roles.
Feel free to test out Subscord completely free, and join our Discord server if you need help with anything. We're always available to assist.